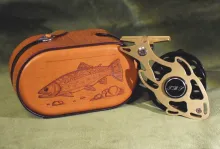
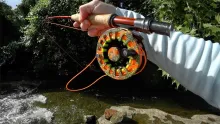
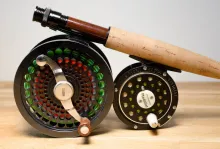
Article gallery

Read the article Tom's Reel here
A nice stand for a nice reel, it's found on my fly tying desk!

The classic fly reel

Three modified fly reels

Bearing system with two O-rings

Faceplate view

My first self made fly reel for aftma 3/4 lines

My new stationary milling machine

My small lathe

Face plate view

My second homemade fly reel

The bearing system with two O-rings and a clicker system

All the parts for three reels, ready for anodising

Design drawing for my third homemade reel

Drawing with all the parts

I like the design very much.

The reel ready and anodised in a nice brown and silvery colour

The reel ready for anodising

All the parts without measurements.

Design drawing for the new reel

Detail of milling the outside of the fish shape face plate.

Milling the rough shape of the face/housing plate.

Sawing the precise fish shape and the holes inside with a jigsaw.

Rough fish shape still on the MDF plate with the two screws.

The sawing is finished

The screws removed from the faceplate.

Milling of the weight reduction holes with a rotary table.

Turning the flange part of the spool.

A small rotary table on the milling machine table.

Finishing the spool on the lathe.

The bearing shaft placed in the face plate.

The bearing shaft.

Global drawing for making a reel foot

The reel foot and the adapter.

The adapter fixed in the vice on the milling table.

The locknut and the plastic ring to reduce friction between the locknut and the spool.

The milling of the grips on the locknut.

This is a homemade distribution table.

The author behind his small lathe, making a reel part.

The counterbalance weight and the turning knob shaft.

Here you see the line guide and the endplate mounted on the faceplate.

Rough sawing of the endplate.

The finished endplate.

Here you see the clicker system with the gearwheel.

Here you see the plastic ring on the locknut.

Two more weight reduction holes in the fish shape head, for a better look.

Cutting the O-ring slots in the bearing shaft.

Here you see the O-rings in place.

Making two small recesses for easier handling of the O-rings.

Computer animation of the fly reel to compare different color combinations.

Computer animation in exploded view with most of the parts.

Other side of the reel in computer animation.

All the parts are anodised and ready for assembling.

And finally we have our finished fly reel!

It is a small reel!

The other side also looks very good.

In detail the faceplate and the spool.

In detail the fish shape faceplate.

In detail the locknut and the counterbalance weight.

In detail the reel foot and adapter.

I made this fly reel for my wife